My dear friend needed this pillow and so I had it on my "blog" list but seems like I needed to make one thing or another so the pillow remained on the list until today.
I picked up a lumbar type pillow 12x22 inches.
I had a couple of pieces of fabric that I thought would work and decided on neutral linen. Here is the formula I use for this envelope type pillow:
Front of pillow: Pillow measures 12x22 so cut out a piece 13x23
Back of pillow: Pillow measures 12x22 so cut out a piece 13x28 and cut in half
Iron all three pieces.
On the longer side of each of the two back pieces, turn over 1/4" and then turn again 1/4" and stitch.
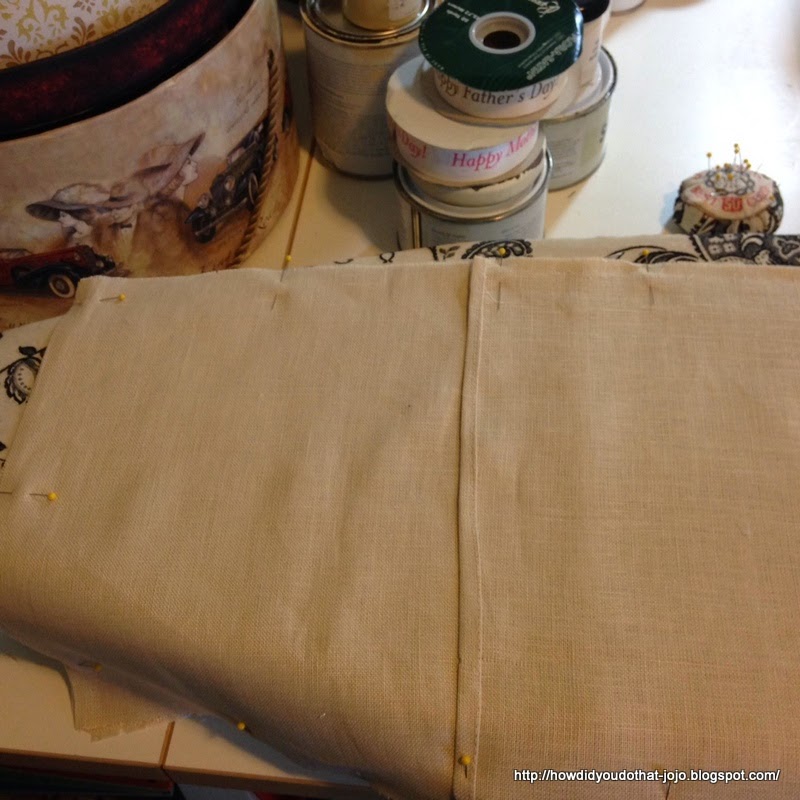
Then lay the back pieces over the front and pin them, you will have the lap for the closure on the envelope. Stitch all the way around.
Next insert your pillow to check and make sure that it fits snugly - not all pillows may be the exact size on the pkg, etc. With this one I felt like I needed to come in about an inch and a half on one end - I removed the pillow (turned inside out) and just stitched one side in from the edge an inch and a half and trimmed off the excess. Now I back tacked at the area where you insert the pillow and trimmed the four corners (while the pillow is wrong side out) pulled it out and using a bone folder pushed out the corners. Carefully iron the pillow.
Do your computer work (I will list the fonts used) and print out on a plain piece of paper so you can check and see if your font size is correct.
I decided the font needed to be larger to be in scale with the pillow so back to the computer, enlarged the font, made sure it would all fit on an 8 1/2 x 11 sheet and printed it out on Lesley Riley's TAP - transfer artist paper - the best transfer paper - I will only use this transfer paper. REMEMBER WHEN YOU ARE IRONING AN IMAGE YOU WILL NEED TO FLIP THE IMAGE. If you do not use a draw program you can use Microsoft Paint that comes with windows, paste your image and then use the "rotate" option to flip the image.
Cut out around your words and graphics and using a non-steam hot setting on the iron, iron on your words and graphics. Peel off the transfer paper and insert your pillow. If you need to pull the pillow into the corners a long needle inserted into the corners and then pulling will bring the pillow corner into the corner of the cover. Now this needs to go into the mail!
Resource
Linen fabric, local fabric store
Pillow insert, Hobby Lobby
Lesley Riley's Tap, Lesley Riley's TAP Transfer Artist Paper 5-Sheet Pack: 5 Iron-on Image Transfer Sheets 8.5 x 11
Font used on Nest, Great Vibes
Font used on definition, Estrangelo Edessa
Font used on curly q's, Nymphette
Thank you for stopping by.


PLACING ONES HEAD ON THIS PILLOW, ONE CAN ONLY IMAGINE IT BEING LIKE PLACING ONES HEAD ON A CLOUD!
ReplyDeleteThank you so much for your kind comment Anonymous. j.
DeleteLovely! Great job!
ReplyDeleteThank you Kim - this is a very easy project and so many ways to do this type of pillow. I loved this pillow when I saw it in a Pottery Barn catalog and it is no longer available. One thing for sure I did not spend a fraction of what the PB pillow cost! I just hope my friend likes the pillow. Thank you for stopping by. j.
Delete