It must be a sign of my age but Christmas used to be my favorite holiday but Thanksgiving is certainly running a very close second these days. Thanksgiving is not about gifts, it's about giving thanks. I love the ritual of setting the table - I start to think about our dinner and how nice it will be to have family all together. The photos above are a collage of the finished tablescape.
 When thinking about my table this year I decided to not do the usual, more formal white linen cloth and napkins, but to go for a more casual, woodsy table. With that in mind I went out and found these tablescapes that I found inspiring
The first thing that I did was to clear my dining room table and add one leaf. If you’re looking for a new
dining table, I just discovered Modani and they have a great selection to chose from. They sell contemporary
and modern
furniture. Here is a link for a virtual tour to take a look through their
modern
furniture
stores.
This rustic table just lends itself to a more rustic tablescape. This year there will be (6) adults and (3) children - I will have a special children's table too.
When thinking about my table this year I decided to not do the usual, more formal white linen cloth and napkins, but to go for a more casual, woodsy table. With that in mind I went out and found these tablescapes that I found inspiring
The first thing that I did was to clear my dining room table and add one leaf. If you’re looking for a new
dining table, I just discovered Modani and they have a great selection to chose from. They sell contemporary
and modern
furniture. Here is a link for a virtual tour to take a look through their
modern
furniture
stores.
This rustic table just lends itself to a more rustic tablescape. This year there will be (6) adults and (3) children - I will have a special children's table too.
Next I gathered together all the fall and woodsy things that I hand on hand, then started layering the tablescape - the runner, the antler candles, small hurricanes in a rattan base, rattan place mats, etc. I centered a rattan cake stand in the middle of the table to give a deer soup tureen some height (treasured find from Tuesday Morning's sale table long ago), now the table has balance and I can keep adding foliage, leaves, pine cones, etc.
Left side...
Right side....Now time to start layering the table one step at a time.
Place mat, charger, dinner, salad and bread & butter, individual tureen. Water, wine, sparkling drink glasses.
I have some turkey and some acorn tureens and like to mix them.
Place cards.
Here is a template for place cards that are one sided - this sheet will yield 12. I used "Freebooter Script" font, size 36.
TO
PRINT: If you have a draw program just copy and paste the sheet into
your program. If you do not have a draw program an easy way to print out
a sheet of these labels is to "right click" on the image and "save to
your
desktop", then "right click" on the file on the desktop and you get the
option to "open in Picasa" (if you do not have Picasa it is free and an
easy download) once in Picasa select the "print" option, then "full
page",
if it does not fit the page then select the" fit to page" option and it
will print
out perfectly. If you are not using a lami-label then print it out on a
full 8 1/2 x 11 full sheet label and then cut around the labels as you
need them. I know this sounds complicated but it is really easy and once
you have done it you will see it is that. Right click, save to desktop,
right click, open in Picasa and print. Here is the link for Picasa: Link
The different colors give more interest to the table.
The final touch - acorn napkin holders.
Resource
Acorn napkin rings, Williams-Sonoma
Turkey tureens, World Market
China, Danish Fern by Burleigh, England
Flatware, World Market
Napkins, HomeGoods
Crystal, Villeroy & Boch, pattern, Bernadotte
Table runner, HomeGoods
Acorn tureens, Williams-Sonoma
Rattan cake stand, Williams-Sonoma
Pine Cones, picked them up in Oregon
Leaves, some of them were pressed from my maple tree
Faux foliage, Hobby Lobby & Michael's
Acorn place card holders, Big Lots
Rattan hurricanes, Marshall's
Large ceramic acorns, art show
Fat candles in hurricanes, Pier One
Antler candle holders, gift shop
Place Mats, Pier One
Golden brown chargers, Hobby Lobby
Thank you for stopping by.
As the season changes so does the vignette on my entry table. Getting ready for Thanksgiving.
The Graphic's Fairy had this great graphic that I thought would be simple to frame but thought that I would like it in more brown tones so I brought it into my draw program and changed the color. I decided I like the other better so just used the original color (will put a link at the end). Since I had gone to all the work to change the color I am posting this in case someone wants this color.
TO
PRINT: If you have a draw program just copy and paste the sheet into
your program. If you do not have a draw program an easy way to print out
a sheet of these labels is to "right click" on the image and "save to
your
desktop", then "right click" on the file on the desktop and you get the
option to "open in Picasa" (if you do not have Picasa it is free and an
easy download) once in Picasa select the "print" option, then "full
page",
if it does not fit the page then select the" fit to page" option and it
will print
out perfectly. If you are not using a lami-label then print it out on a
full 8 1/2 x 11 full sheet label and then cut around the labels as you
need them. I know this sounds complicated but it is really easy and once
you have done it you will see it is that. Right click, save to desktop,
right click, open in Picasa and print. Here is the link for Picasa: Link
Once I had my graphic framed it was just a matter of putting out some old Thanksgiving favorites and adding fall faux stems to the cache pot that lives on this table and a big glass vase.
I felt like I needed one more thing so I pulled out a small (about 13" I think) grapevine wreath. Love using them because they are so thick and sturdy that you do not have to glue your items, they will fit nicely in between the layers - that is if the wreath will be inside - outside definately need to glue.
This was simple - I just took a stem of fall foliage and cut off each individual item and then found some fall leaves on another stem and cut them off too.
Put them in place on the wreath and then added a ribbon to hang and it's done, ready to hang.
All done, ready to greet guests in the entry - sets the tone for the holiday at the entry!
Resource
Turkey Print, Nancy Thomas, link
Frame for "Give Thanks," Pinnacle frame 8x10
"Give Thanks' graphic, The Graphic's Fairy, Link
Faux fall foliage, Hobby Lobby, Michael's, craft stores
Wreath, Hobby Lobby
Thank you for stopping by.
This blog post will give you the recipe, labels and instructions on how to prepare the pancakes and complete instructions on how to make the bags and resources.
Easy recipe - only (7) ingredients -
Recipe
11 cups of wheat flour (I prefer King Arthur but my store was
out so I substituted Red Hill)
2 Cups of Buttermilk Blend Powder
1 cup granulated sugar
1/3 cup baking powder
2 Tablespoons baking soda
2 Tablespoons salt
2 Cups quick cooking oats
Put oats into a food processor and process until they are finely ground - at this point (because I have a large food processor) I added and processed the rest of the items one at a time to make sure they were well blended. If you don't have a large food processor just process the oats and add the other items one at a time blending carefully after each addition.
Lastly I put in the flour and using a whisk took my time making sure to get all the ingredients evenly blended.
You are now ready to divide the mix into bags. I chose to do enough in each bag for two batches so my yield was four bags. If you choose to only give one batch you will get eight. The bag that I chose to make is very thin cotton so I needed a plastic bag that was thick enough to give stability so I used Zip Lock freezer bags.
I used an IKEA cotton kitchen towel. I no longer live by an IKEA so I had to dig into my stash for these. These towels sell for .79 cents and are plain cotton towels and once washed make great towels for drying crystal, etc. Anyway if you don't live near an IKEA they sell them online and I will put a link below. The shipping is a little steep but if you order a lot of them I think the shipping remains the same so get a couple of folks together and make your order. Also if you have not shopped at IKEA each item has a name - the towel is TEKLA.
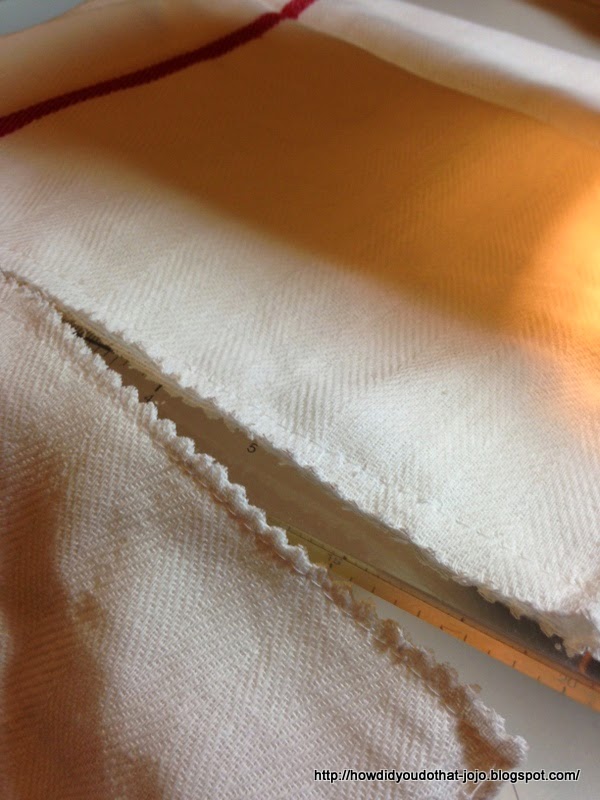
This towel has red lines running along the outside edges but I wanted them to show so I devised this little, fast pattern. First put right sides together (length-wise) and just below the seam sew them together.
Do not iron the towel until you are finished as the fold marks are used as a guide. Hold out the towel and you will see a line down the very middle - about 1/2 inch on each side sew straight across.
After you have sewn down both sides then go back and cut down the middle and now you have two bags for .79 cents!
Turn the bag around and put your hands inside and push out and you will see the bottom looks like this and the stripes are in the front.
Fold the triangles over and seam the edge as above -
Now cut the the triangle up to near the seam line and you have a flat bottomed bag for your whole grain pancake mix - now you give it a press. If you machine is up and running and you don't get interrupted making two bags takes less than ten minutes. I had not done this before and I timed myself both times and it was the same.
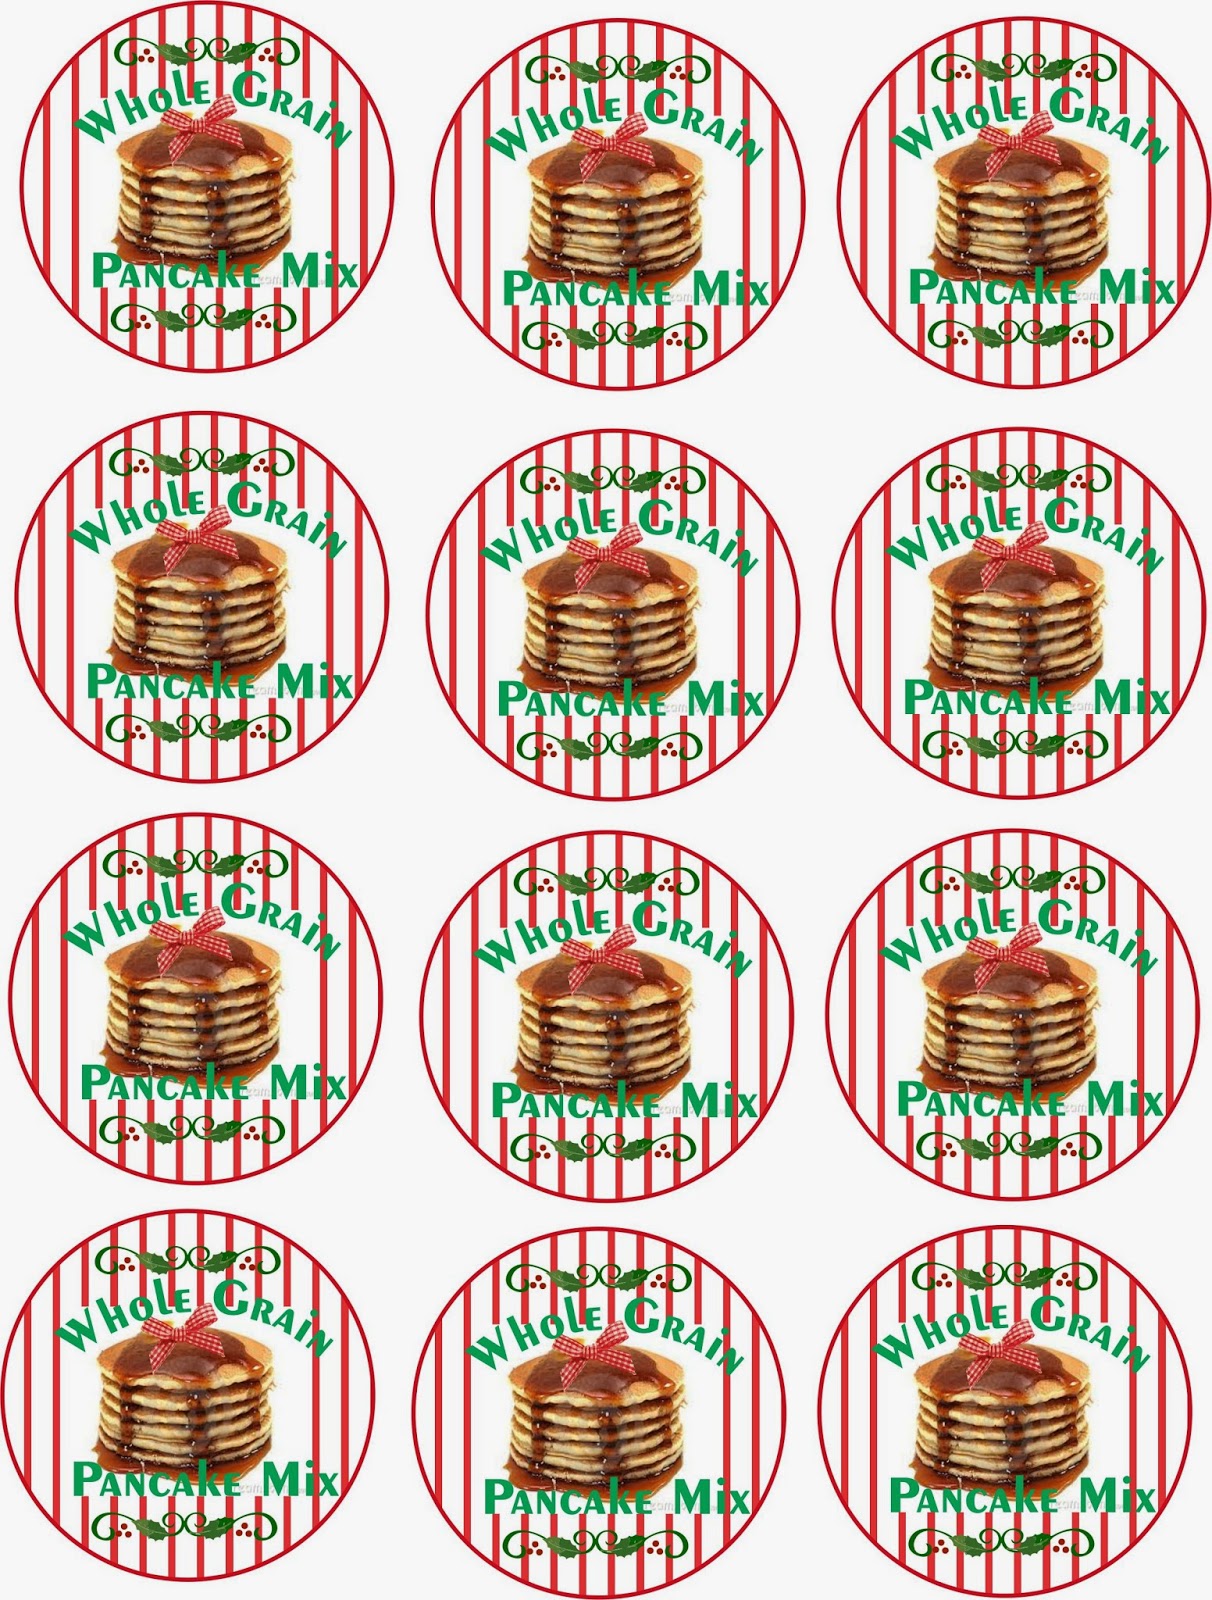
Here are the instructions for you to enclose with the mix as well as labels for the front. If you don't want to go to the trouble of making labels you could just print these out and hole punch them and attach with your ribbons, etc.
TO
PRINT: If you have a draw program just copy and paste the sheet into
your program. If you do not have a draw program an easy way to print out
a sheet of these labels is to "right click" on the image and "save to
your
desktop", then "right click" on the file on the desktop and you get the
option to "open in Picasa" (if you do not have Picasa it is free and an
easy download) once in Picasa select the "print" option, then "full
page",
if it does not fit the page then select the" fit to page" option and it
will print
out perfectly. If you are not using a lami-label then print it out on a
full 8 1/2 x 11 full sheet label and then cut around the labels as you
need them. I know this sounds complicated but it is really easy and once
you have done it you will see it is that. Right click, save to desktop,
right click, open in Picasa and print. Here is the link for Picasa: Link

I found the perfect wooden spoon at Walmart - they come in a bag of three spoons and a little spatula (they were .88 cents for the four at my Walmart in Boise) and have different length handles - hubby quickly trimmed them for me so they were all the shorter length. You don't have to add the spoon but I think it is a nice touch.
Here they are four little cuties ready to go into a gift basket with some of the Caramel Apple Jam and when it is closer to Christmas I am going to make cookies to go inside too.
A word about the labels and the decorations that I used. I made my labels in Corel Draw 6 and I laminated them using a lami label (available at FedEx-Kinko's, print out a sheet of the labels and they can laminate them using a lami label). I found these fabulous (and very hard to find berries and holly) from a great seller on Etsy - Karin at Uniquely Yours Crafts. I contacted her yesterday and she does have an inventory of these items as well as other holly selections.
Resource
Towels, IKEA, Link
Holly & Berries, Uniquely Yours Crafts, Etsy, Link
Ribbon, 5/8 Inch red grosgrain, hobby and craft stores
Recipe, Taste of Home Christmas 2011
Wooden Spoons, Walmart
Thank you for stopping by.